Showing posts with label hand quilting. Show all posts

Friday, August 17, 2012

Hand Pieced Quilt-A-Long ~ Hand Quilting

~ Before I start I want to say a HUGE thank you for all of the sweet congratulations about my baby news. Your comments really touched me and lifted my mood. I appreciate them more than you know. So thank you! ~

For those of you doing the hand pieced quilt along with me, I bet you never thought I was going to get to this. A few posts ago I said the next post would be about hand quilting the quilt. I apologize for dragging my feet. The truth is I feel a bit inadequate giving hand quilting instructions. But I will show you what I do and if it is not helpful I'm sure there are much better tutorials around.
A few years ago another (experienced) quilter told me to use needles called betweens or quilter's betweens for hand quilting. I just used any ol' needle I had on hand (still do most times) and they would start to curve after hand quilting for a bit and they would become hard to grip and keep straight. The betweens won't bend after lots of hand quilting, or at least not as much anyway.

When I first started quilting I read a lot of old quilting books. I read repeatedly that for hand quilting the quilt should be basted using thread and long running stitches. I have used this method and don't like it. As I don't use any hoop or frame to hand quilt I have no problems pin basting.

Shall we start? Cut a length of thread about 18 inches. Thread your needle leaving one loose end. Knot your thread at the other end. Insert your needle into the quilt top and into the batting but not the backing fabric about an inch or 2 from where you want to make your first stitch. Bring the needle up at the beginning of your quilting line. I am just outline quilting here.

Give the thread a little tug and pull the knot through the quilt top and bury it in the batting.

Take a few uneven, messy stitches. Just kidding. I like to call them organic. Just kidding. Again.

Quilt in this manner until you come to the end of the area you are quilting or your thread is getting short. Then wrap the thread around your needle twice. Insert the needle where you would make your last or next stitch and pull the needle through the quilt top and into the batting but not through the backing fabric.

Bring your needle up an inch or 2 away and pop the knot through the quilt top.

Bury the knot in the batting. Carefully snip your thread. That's how I do it. If you have any tips, suggestions, words of wisdom on hand quilting please let me know. 

Here are the links for all of the hand pieced blocks:


Block #1 ~ Churn Dash

Block #2 ~ Jacob's Ladder

Block #3 ~ Ohio Star

Block #4 ~ Bear Paw

Block #5 ~ Granny Square

Block #6 ~ Shoo-Fly

Block #7 ~ Card Trick

Block #8 ~ Friendship Star 

Block #9 ~ Square in a Square

Block #10 ~ Log Cabin

Block #11 ~ Flying Geese Pinwheel

Block #12 ~ Honey Bee


The flickr group is here. Come on over and see all the other pretty hand pieced blocks.


Have a great weekend!!!


Friday, January 27, 2012

Hand Pieced Quilt-A-Long Block # 1 Churn Dash

Hey there! are you ready to start the hand pieced quilt along? I'm not a real formal person so there are no rules. I'll try to post a new block every week. Fridays seem good as we will have the weekend to work on our blocks. Margaret asked for some of the basic info on hand piecing so I have a few pictures of how I hand piece. This is just the method I have been using and  it is far from perfect but it works for me. I hope it helps.
So let's begin...


Block # 1 Churn Dash ( 6 inches finished)


                                                     (click to enlarge)

2 - 2 7/8 inch squares from background fabric for half square triangles
2 - 2 7/8 inch squares from main fabric for hst
1 - 2 1/2 inch square from background fabric for center
4 - 1 1/2 x 2 1/2 rectangles from main fabric
4 - 1 1/2 x 2 1/2 rectangles from background fabric

When your pieces are cut the next step is to draw your sewing line onto the WRONG side of your fabric 1/4 inch away from the edge. I try to go with a scant 1/4 inch here. I prefer to use a mechanical pencil for this. 


Do that to all of your pieces and then draw a diagonal line on all of the 2 7/8 inch squares.  Draw a sewing line 1/4 inch away from the diagonal line on each side. Then you can cut your piece on the center diagonal line.


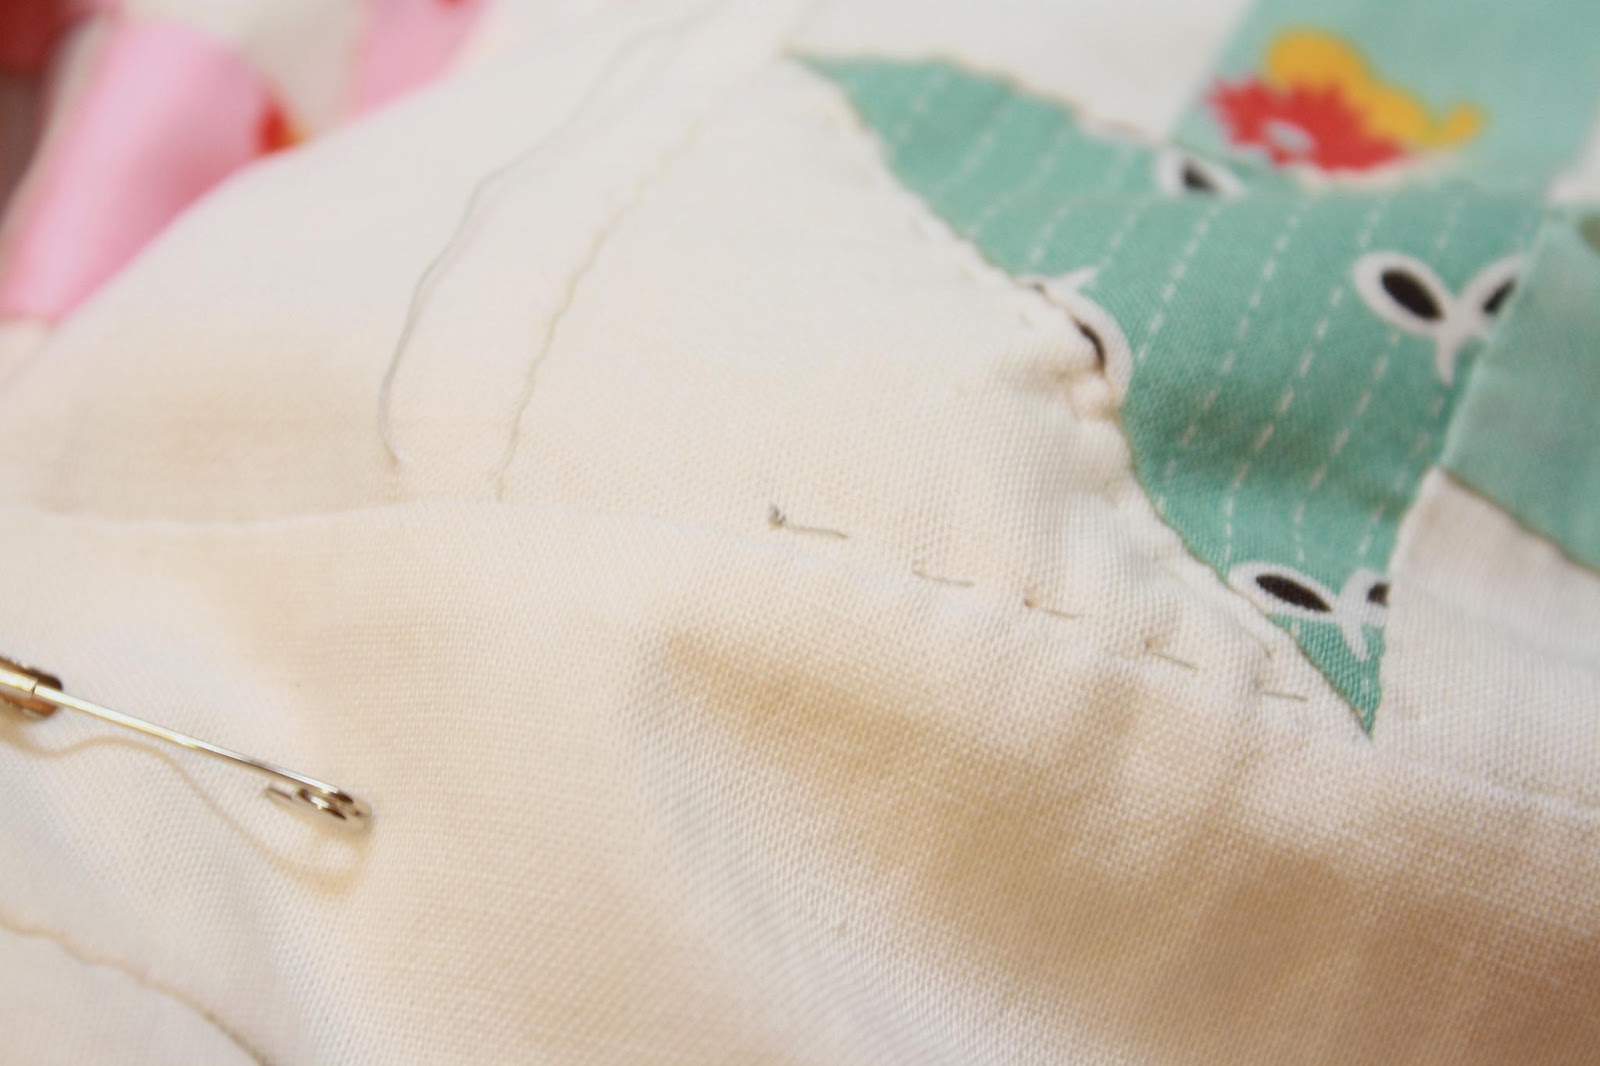
I am using red thread so you can see my stitches here. I use a single thread (left loose on one end). I knot the end twice so I know it won't pull through my fabric. 


I use a running stitch and try to make smallish stitches.


When you come the last stitch at the end of your piece take 3 more stitches on top of the last one. That is enough to secure your thread.


Here is the first completed HST (half square triangle). I really like the bit of rippling, bubbling, whatever you want to call it, on the seam line. I think it adds to the charm of hand piecing.

Sew all of your HST's and rectangular pieces together like this.


Then sew your pieces together in rows like this.


Lastly sew your rows together making sure to match, or butt, your seams together. I like to press the hst's toward the center in those rows and for the middle row I like to press the center out towards the rectangles. 
 

Now you have one completed block for our quilt along. Isn't it pretty!?

I'm excited to see the blocks from everyone who joins along. I'll try to put a linky tool thing after next week's post. I also started a little flickr group for the quilt along, a place where we can give tips and encouragement! Please come over and join the group. I'll be lonely there all by myself .

Have a great weekend and lots of fun sewing block # 1 !!!
>

LinkWithin

Related Posts Plugin for WordPress, Blogger...